Humans have been sewing cloth together for thousands of years and the process is simpler than we are made to believe. Basic tools include a needle, thread, scissors, and, of course, fabric. Sewing machines were invented in the late 1700s and are a relative newcomer to the process.
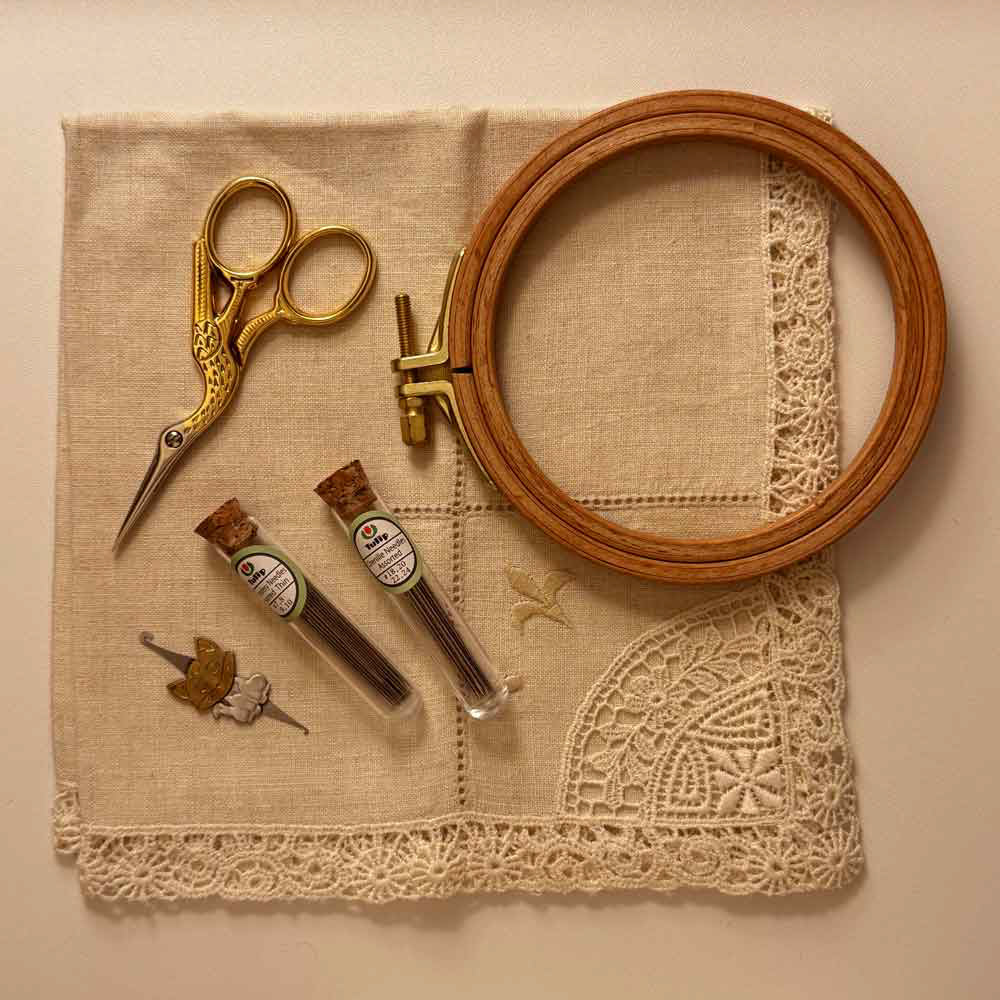
Because the tools needed are simple, a hand-sewist can invest in a few high-quality items. My basic sewing kit includes some super fine glass-head pins, needles in various sizes, a sharp scissors, and a leather thimble.
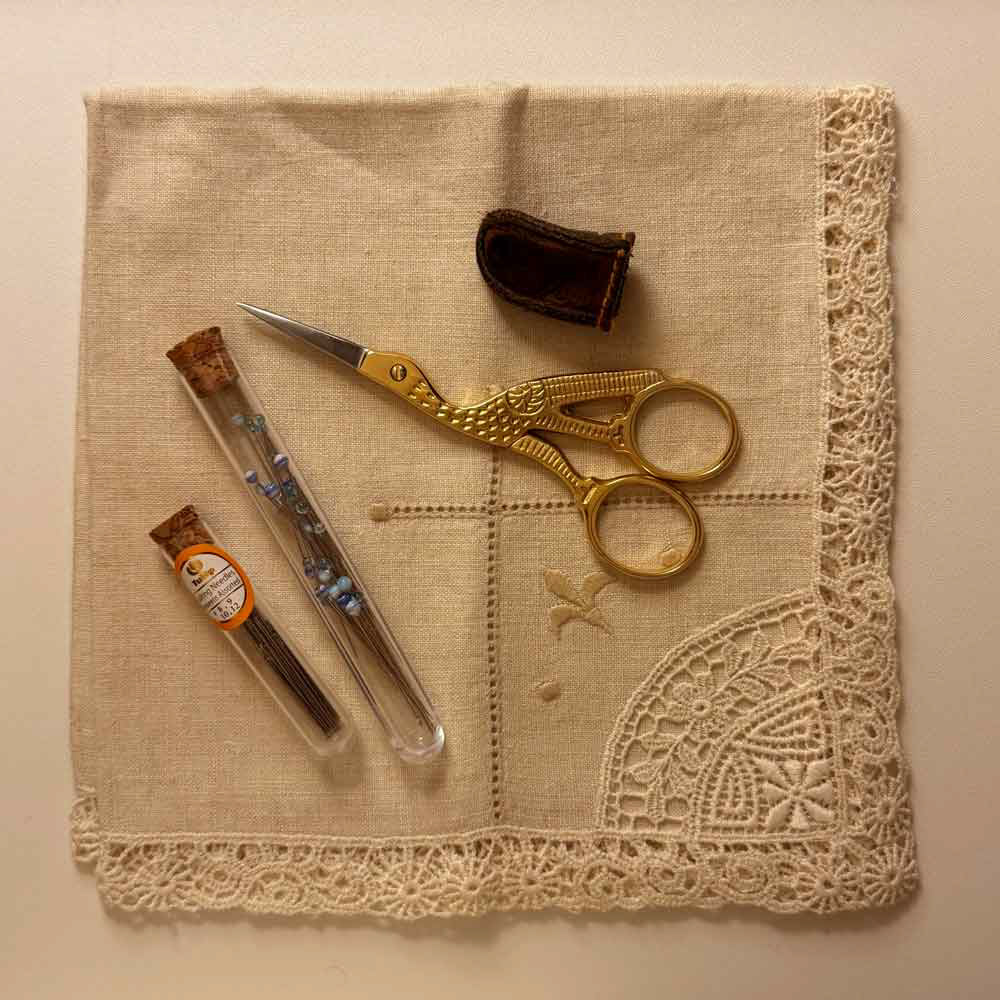
I recommend investing in quality needles because cheap ones tend to have burrs that will drive you batty. I have a selection of needles from Tulip, Bohin, Cohana, and Primitive Gatherings. Different needles serve different purposes, so consider what you are sewing when choosing needles.
Pins are similar in that cheaply made pins will have burrs that will snag as you use them. My favorite pins are from Tulip and Clover. Pins also come in different thicknesses to accommodate different fabrics. I like the super fine glass head pins because they are super sharp, are easy to grab onto, and they are pretty to look at. Some sewists like the flat-head pins that can be ironed over, but I don't iron over my pins, so I am not concerned about that.
A thimble should not be overlooked when hand-sewing. Without it, the fingers that guide your needle will become quite sore. Most people think of metal thimbles, but because I have small fingers metal thimbles never fit. A leather thimble stays on my finger nicely and feels more natural. Clover makes leather thimbles in different sizes, but you can also make your own by sewing together a scrap of leather.
A small scissors is needed for thread snipping. Good quality scissors will last forever and will be able to be sharpened, if necessary. Find a pair that is a nice weight and fits your hand, tiny is not always best. That said, only use your sewing scissors for sewing! Don't cut paper, tape, or cardboard with them as this will dull them and bend them out of whack.
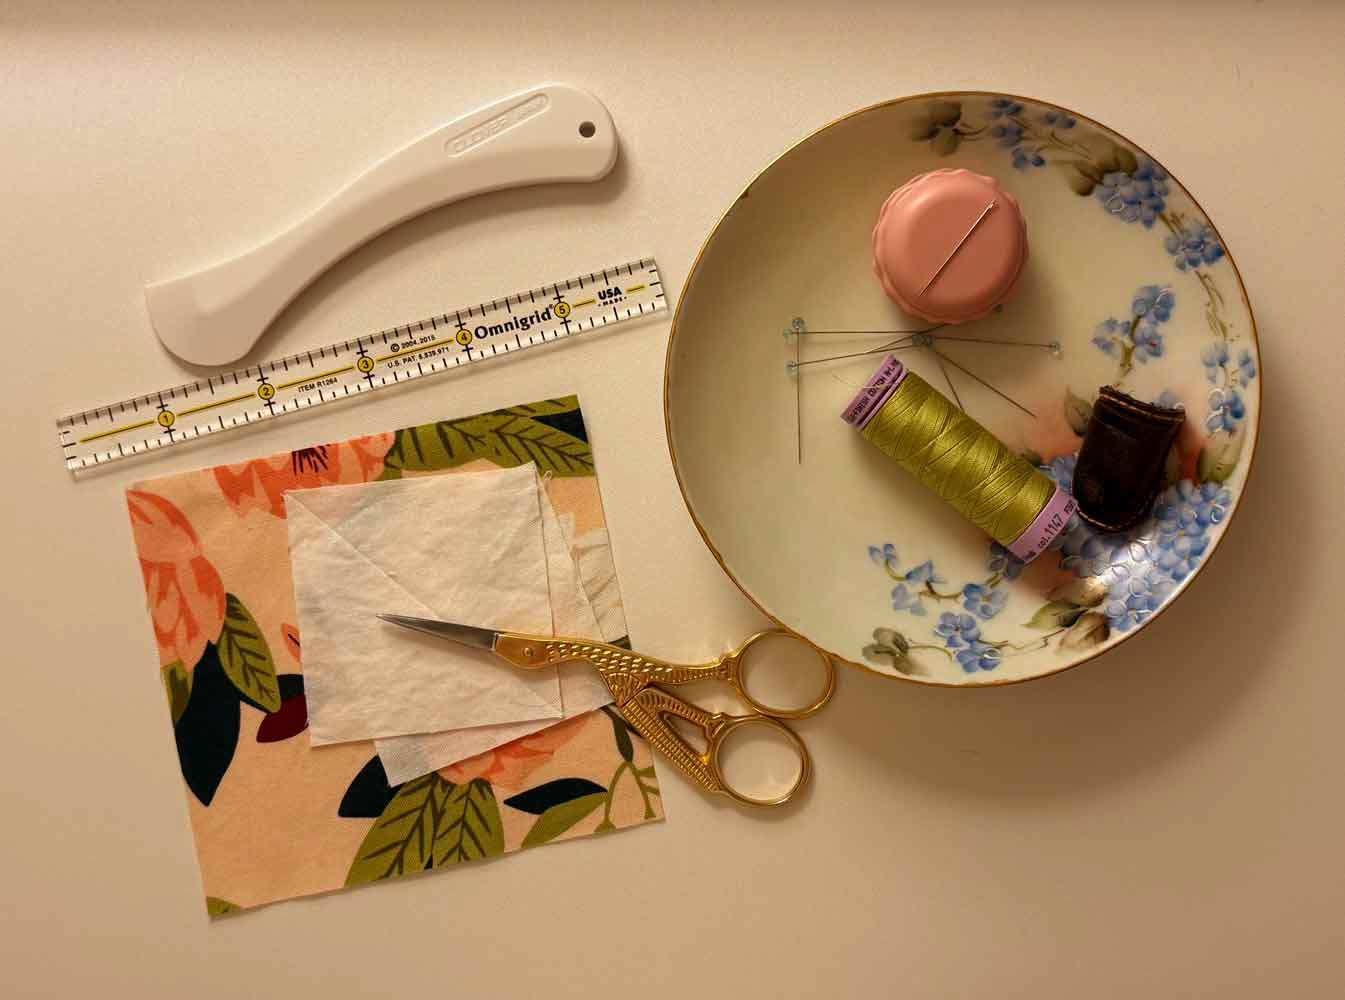
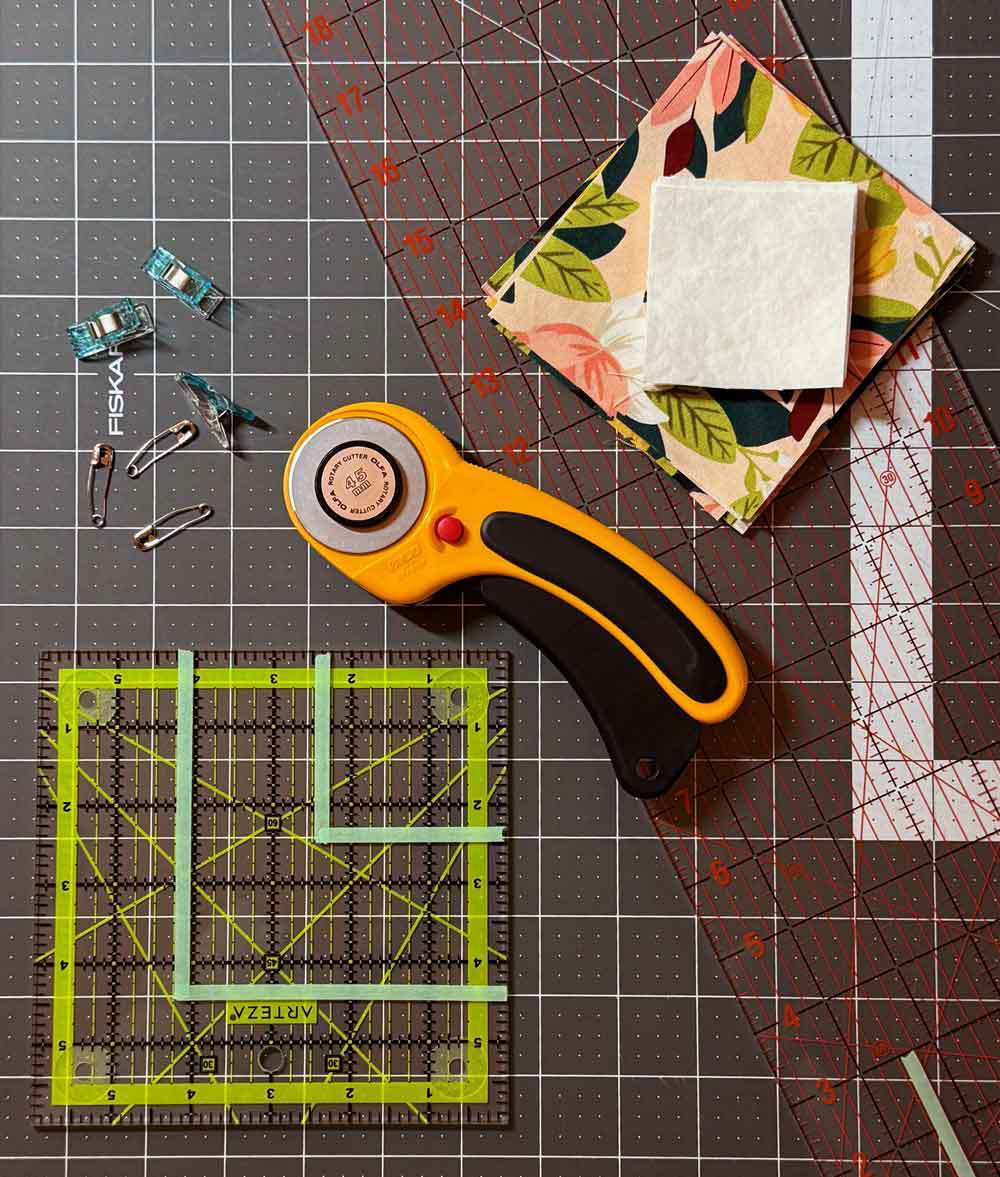
Tools for cutting fabric include a rotary cutter, a self-healing cutting mat, and clear rulers. A larger fabric scissors will help with cutting curves or fussy shapes. And some sort of marking tool, such as a chalk tailor pencil or a hera marker, can also be useful.
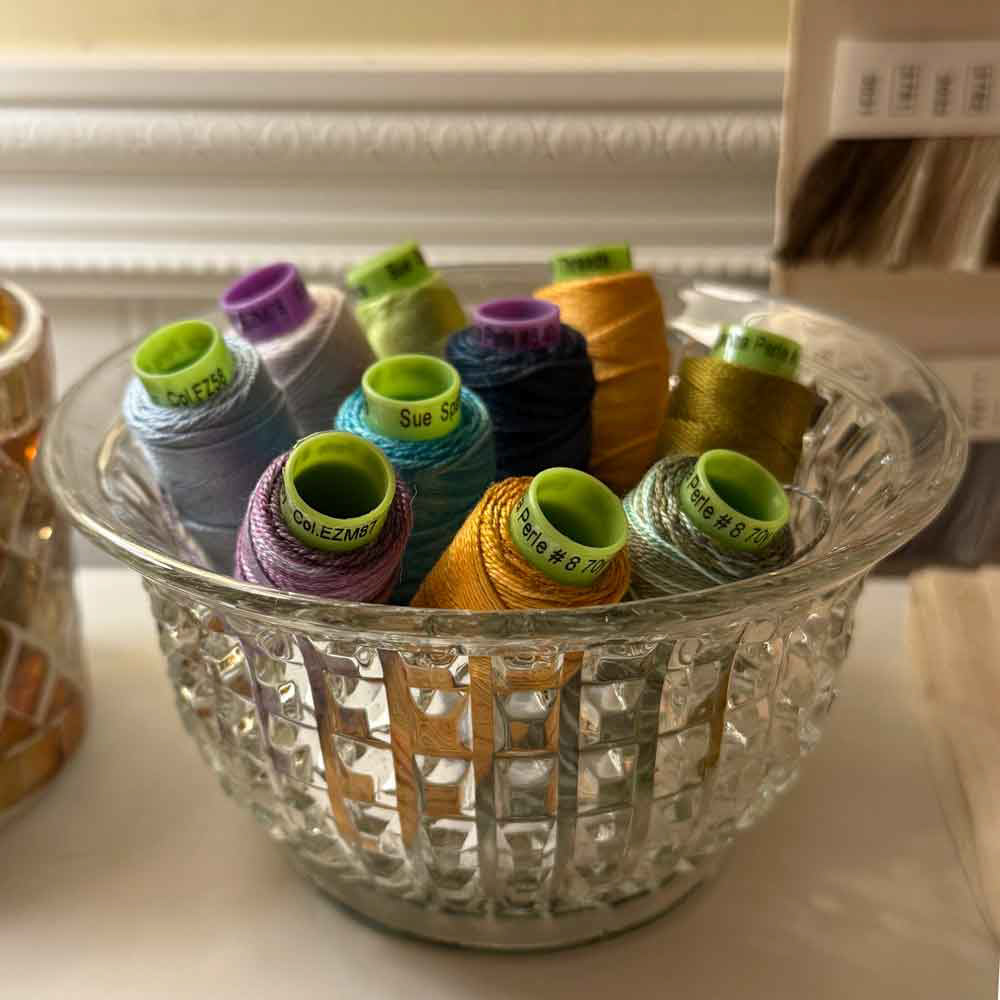
I use a hera marker and a small seam allowance guide to mark the stitch lines. I also keep a pin dish near so I have a place to collect stray pins, needles and anything else I don't want to find on the floor later.
Then there are quilters clips (aka Clover Wonder Clips) and basting pins (bent safety pins). I prefer using basting pins rather than stitching in basting threads, and I use the clips when binding quilts or finishing edges. The clips are also useful to keep cut pieces neatly grouped together.
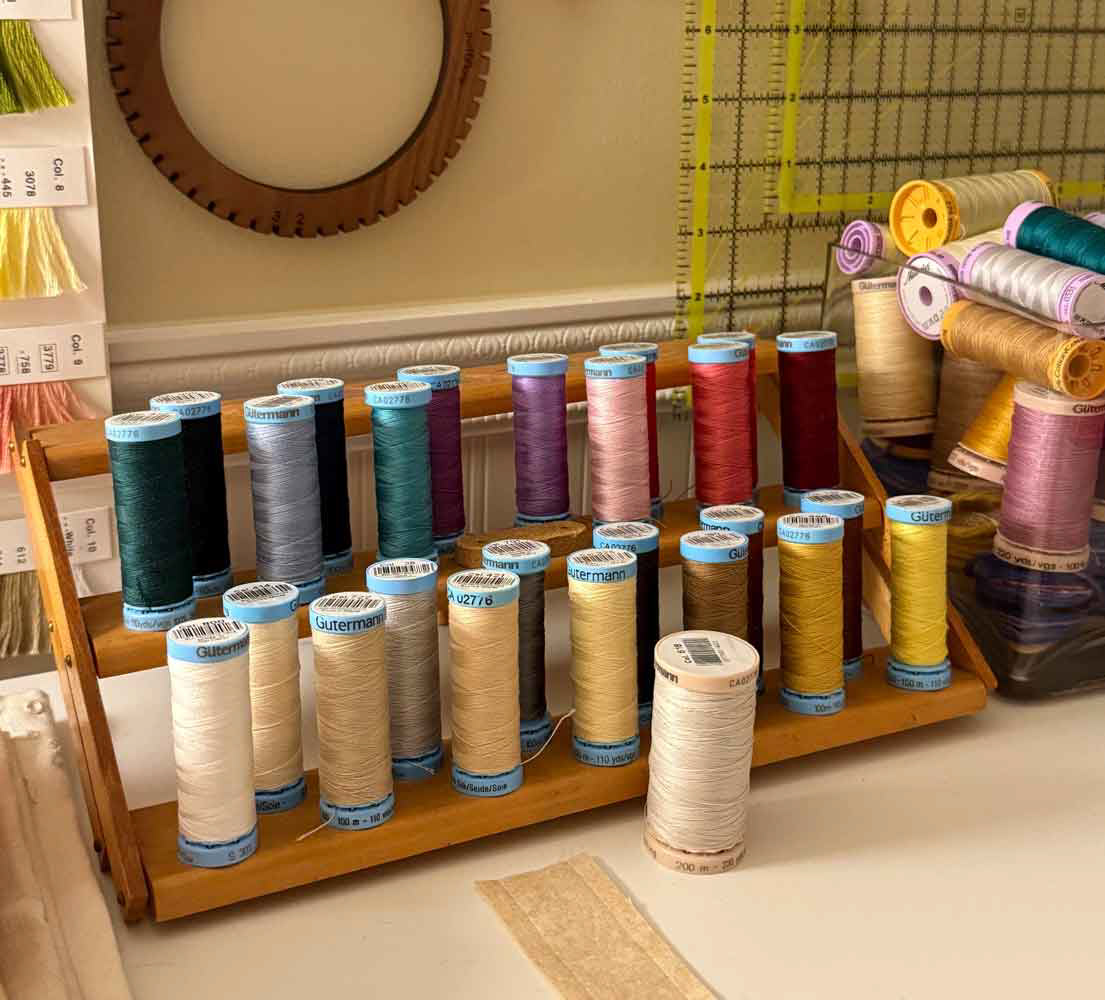
Thread seems to be a contentious topic among sewists. I have my own favorite brands, and the selection is bigger if you sew by hand, because not all thread can be used in a sewing machine.
I like Mettler silk-finish cotton thread for sewing. I also use Gütermann quilting thread (which has been thinly waxed to glide easier when quilting through several layers). For big-stitch quilting, I like the Wonderfil perle cotton threads. And when I am feeling indulgent, I use Gütermann silk thread.
There are so many colors available, but get a few basics (white, ecru, black, tan) and then add-on colors as needed for your projects. Trust me, you will eventually have a nice selection of the colors you use often.
Not all hand sewists practice embroidery, but many do. Plus, knowing a selecting of embroidery stitches will add to your hand sewing skills. You may even find yourself embellishing your topstitching with embroidery stitches!
Needles for embroidery work are different from basic sewing. They have thicker shafts and larger, longer eyes to accommodate thicker threads. Look for the type of needle that works for your project. For example, needlepoint work uses a thick needle with a dull point and a large eye, but silk embroidery needles are more delicate and have smaller eyes.
A hoop keeps the fabric taut so the embroidery work stays neat, but they are not required if you prefer to work your embroidery "in hand". Hoops come in many sizes and are often supplied in embroidery kits as a means to frame your work when it's done. I don't like working with bamboo hoops and recommend investing in a good hardwood work hoop. My favorite hoops are from Nurge and these have smooth finished edges, sturdy hardware, and feel nice to hold.
The needle threader is essential, in my opinion, to save your sanity when threading multiple strands of embroidery floss or crewel yarns.
Embroidery thread seems to be everywhere these days and quality varies. DMC is probably the best known brand, and comes in a gazillion colors. Good hand-embroidery thread is made from cotton, wool, linen, or silk.
Whatever supplies you decide to use, consider how they feel while you are using them. If you are frustrated and uncomfortable, you will not enjoy yourself. The beauty of hand-sewing is that there are many simple adjustments available. Here are a few things that may help:
• Are you frustrated with the small eyes on your needles? Consider big-eye needles, a needle threader, and perhaps a magnifier.
• Is your embroidery hoop too heavy to hold for your stitching session? Consider a hoop stand or a lighter weight hoop.
• Don't like the thread slipping out of your needle as you work? Check that you are using the right type of needle for your project. Sometimes the threads are too thin for the eye of the needle, so size down to a smaller eye needle. Some threads, like the rayon Sulky threads, are very slippery no matter the needle and maybe these are not right for the way you work (they are not right for me).
• Can't sew in a straight line? Some sewists can; I've learned that I cannot. I mark my sewing lines and don't try to guess. It's an extra step in the process, but it saves my sanity later.
Wait, this is great, but I hear you asking: how do you learn to sew by hand in the first place?
Most sewing classes will teach you how to use a sewing machine. I took a few and they are valuable even if you sew by hand. Sewing classes will teach you about fabrics, construction, and working efficiently. One class recommended the Reader's Digest New Complete Guide to Sewing and I refer to it often to remind myself how to manage some finicky techniques.
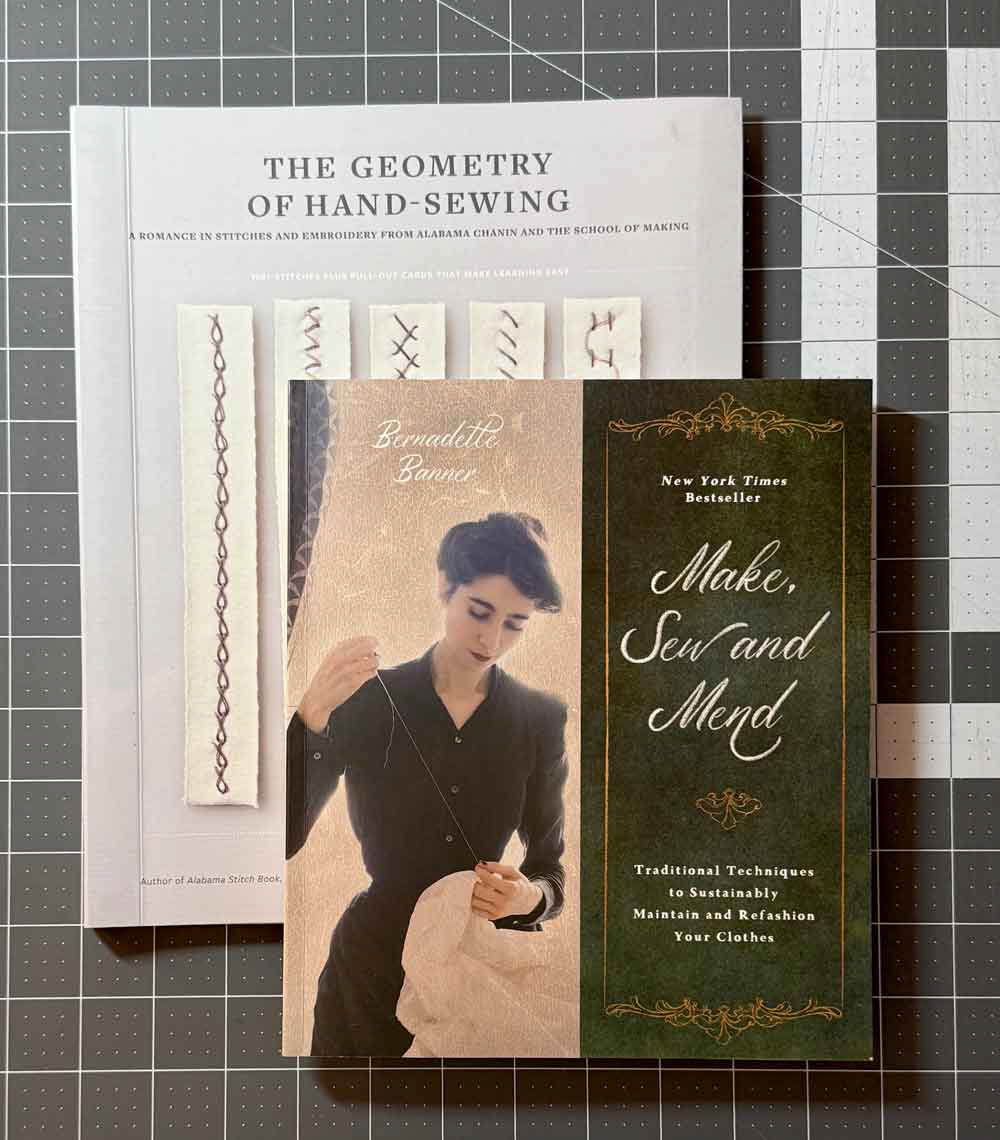
But for hand-sewing, I am self-taught. I spent a lot of time watching YouTube videos of very questionable quality, and discovered the best is from Bernadette Banner. She has a YouTube channel, offers classes on Skillshare, and has this really great reference book that explains everything you need to know. She also recommended The Geometry of Hand-Sewing, by Natalie Chanin.
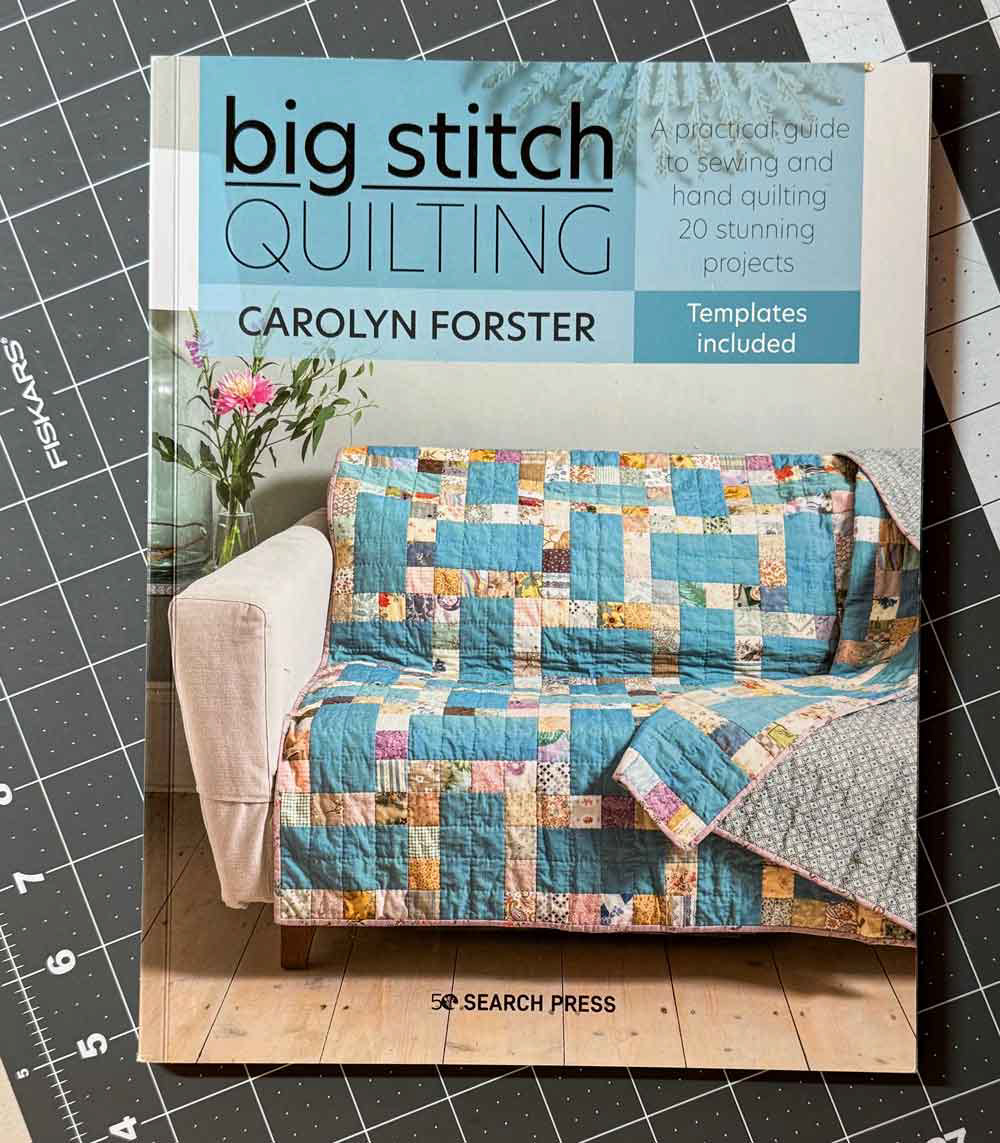
For hand quilting, I liked Carolyn Forster's Big Stitch Quilting book. It took hand piecing quilt construction to a practical level for me.

I hope this inspires you to try some form of hand sewing, even if it's just a small embroidery kit. Slow needlework can be very calming for the soul.