What if you make traditional art that needs to appear in the digital world? In design school, we learned about scanning sketches and image tracing them in Adobe Illustrator. This is a perfectly valid technique for line drawings, but when you work with traditional paints or anything textured, it becomes difficult to reproduce in a vector-based application like Adobe Illustrator. I’ve collected some tips I’ve learned about digitizing your analog art using Adobe Photoshop.
Matching Colors
Since I work in traditional media, I sometimes need to translate the colors in a design brief into the art materials I use. As an artist, I need to not only know how the colors will interact with the paper, but also how they appear when scanned and translated to RGB or CMYK for the digital and print world.
I made swatch cards for all of my watercolors, inks, gouache, and colored pencils. I keep a jar of swatches, with the names written on the back, that I will use to make the matches I need with a physical color reference, such as a Pantone guide.
I use three color reference tools: Pantone Color Bridge Coated, TruMatch CMYK Color Finder Uncoated, and Pantone Connect for Adobe Photoshop. Between my Pantone book, the digital references, and my paint swatch cards, I am able to create my personal interpretation of the colors in the brief. The benefit of this activity is that my work will always be true to the brief, but translated into a design that is uniquely mine.
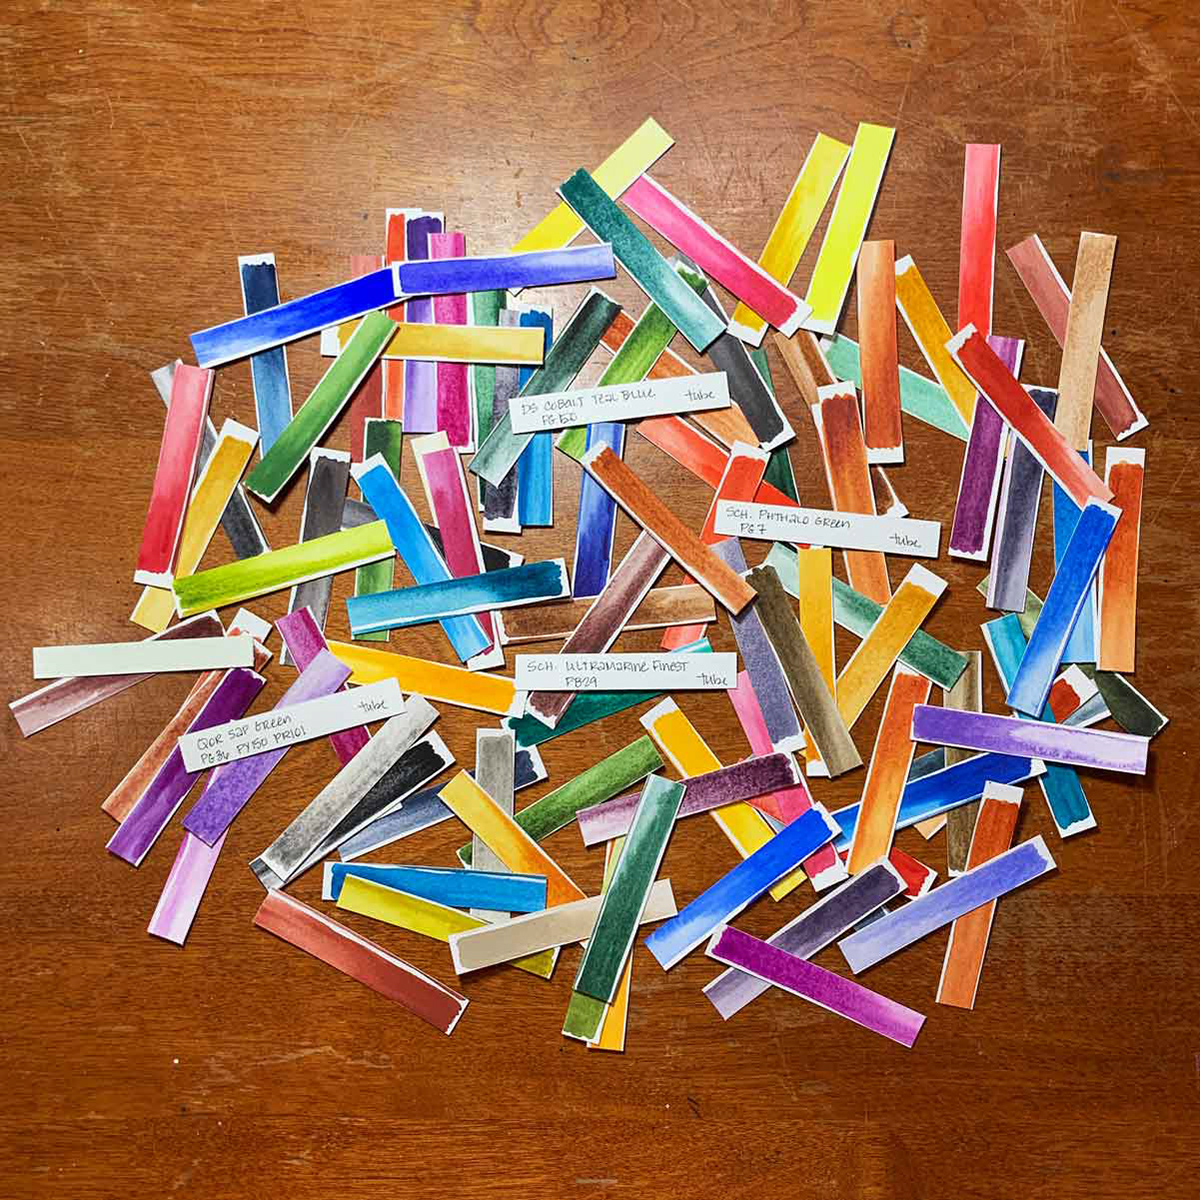
Watercolor Swatches
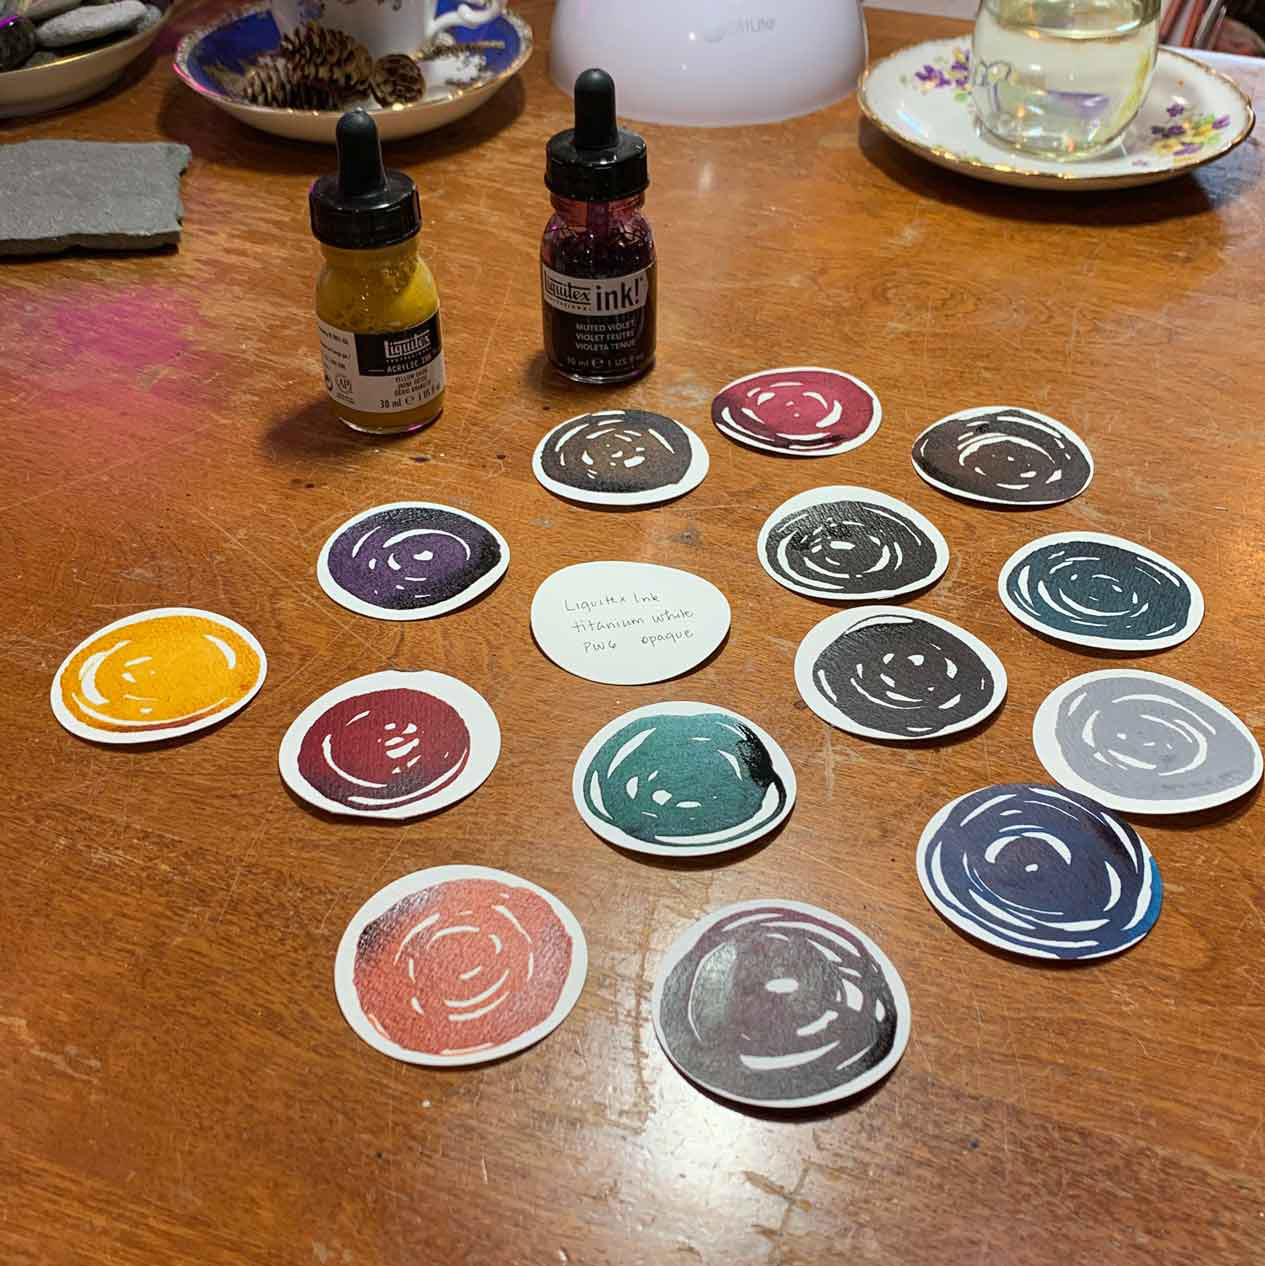
Ink Swatches
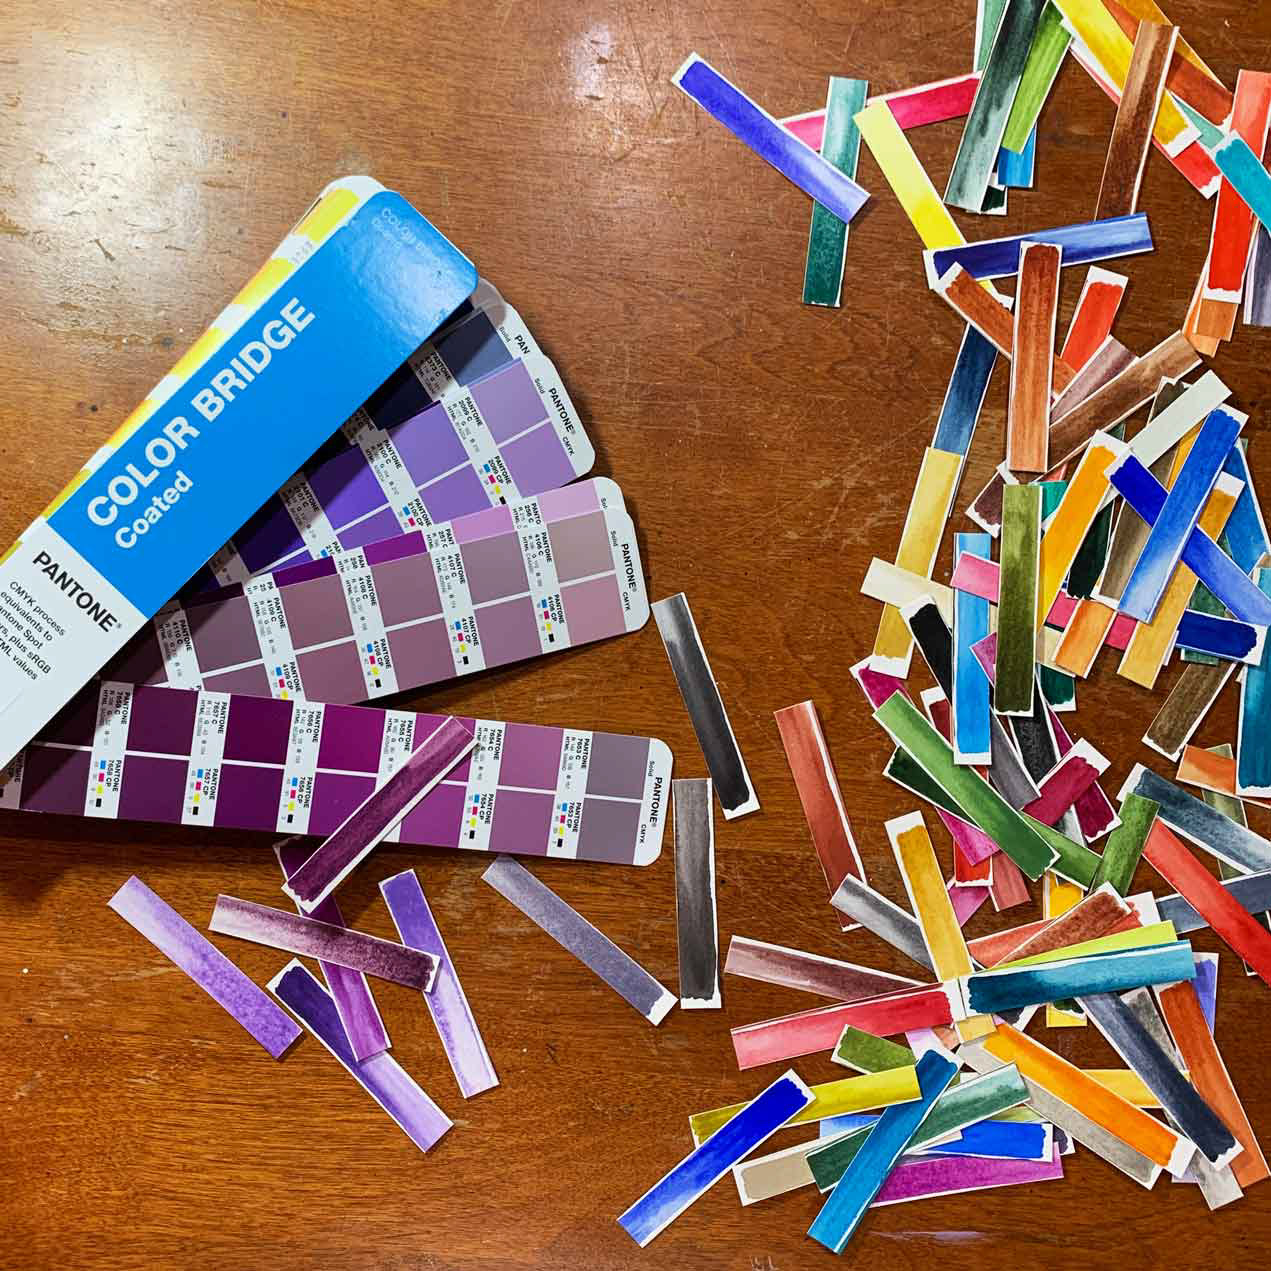
Comparing Watercolor to Pantone
Vector versus Raster
A vector image or illustration is one that can be enlarged or reduced infinitely and still maintain its integrity. The same image could be printed on a postcard or a billboard and look the same. Applications like Adobe Illustrator, create vector images.
In contrast, a raster image is one that is based on pixels and requires particular resolutions to maintain integrity. This is measured in pixels per inch (PPI), but you may sometimes see dots per inch (DPI). Raster images will pixellate when enlarged past their set resolutions. When working with raster images, it is important to know the end use of the image so the resolution is appropriate. Applications like Adobe Photoshop, create raster images.
Why size matters
I work on paper and I don’t work at scales that could go on a billboard, but I do sometimes want a certain digital end size. This is why it is important to know all of the requirements before you begin creating art that is converted to a digital raster file. The original art needs to be at least as large as the end use image. In other words, if the end use is an illustration that is 11x14 inches, you will want your original art to be at least that size, if not a bit larger. If your original art is smaller than the end use, you risk a low quality image.
Scanning your artwork
After I finish a painting or illustration, I scan it at a resolution of 600 ppi and save it as a PNG file using the Image Capture app on my MacBook. There are other applications for scanning, depending on your scanner, but the result is the same. I’ve discovered that I prefer to start with a PNG file, as it has more depth of detail than a JPG and is a smaller, more manageable size than a TIFF file. If you need a super detailed scan, choose the TIFF format.
Many tutorials about scanning your art recommend scanning to at least 300 ppi, but I find that 600 ppi gives me a little more room for expansion if the end image needs to be edited.
Some tutorials also say you can photograph your art instead of using a flatbed scanner. This may be the only option for art that has any dimensionality or cannot be laid flat in a scanner because it is on a stretched canvas, for example. In my opinion, if you have a high-quality camera on a tripod with good photography lights to illuminate your art, this method will work. You want to eliminate any shakes to the camera that may cause blurry pixels as well as bad lighting that will discolor or shadow your original art. Some print houses will photograph your art for you, so don’t be afraid to ask questions and have it professionally photographed.
Working with your scan in Adobe Photoshop
I open the saved PNG file in Photoshop, straighten and crop to size, and save it as a PSD file in sRGB color mode. The color mode also depends on the end use, so check on the requirements before you begin working.
This is also where I make any corrections, such as removing dust that may have been on the scanner. I do this using the healing brush tool in Photoshop.
Working with individual illustrations and motifs
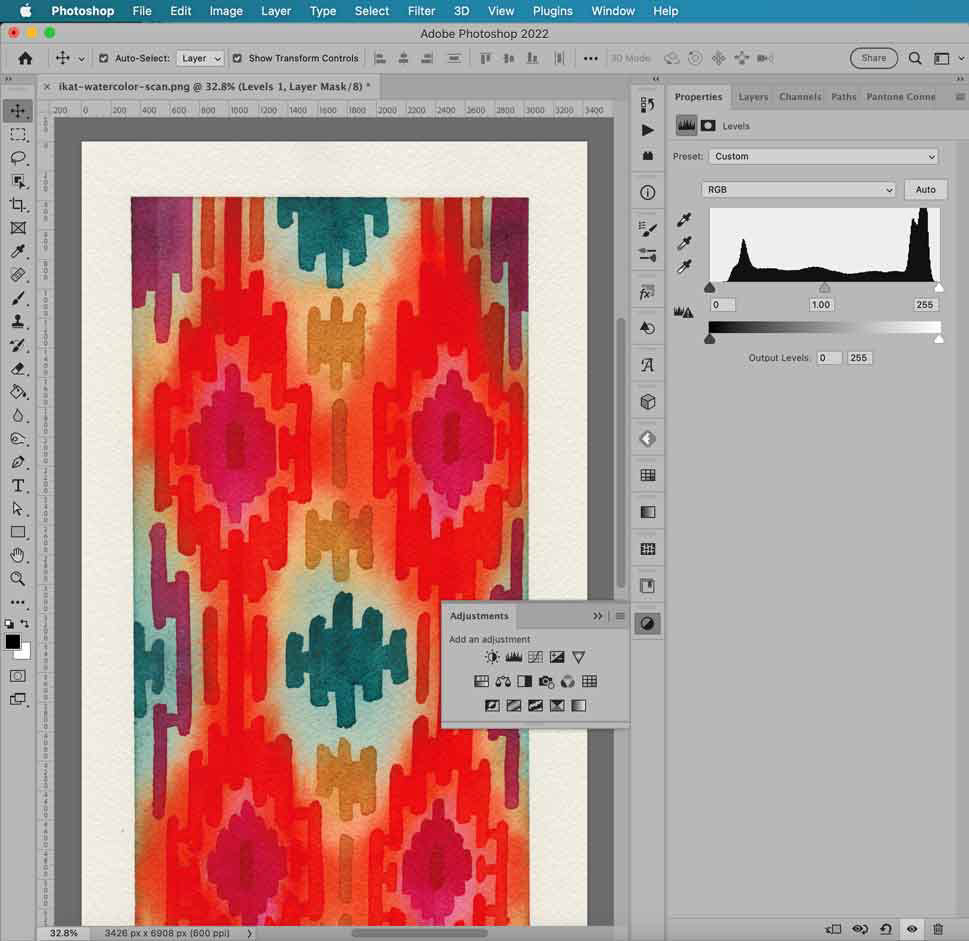
For individual motifs or illustrations that will be incorporated into other digital work, I use a process I learned from PhotoshopCAFE about isolating complex subjects from the background. Using channel masks, color selection tools, and the eraser, I can cleanly cut my art out of the paper, so to speak. Once the art is isolated, I make any needed adjustments to the levels, contrast, or color, because sometimes scans of watercolor paintings look dull.
If the art needs to be individual motifs, I will use the lasso tool to cut and paste in place each motif so they are each on their own named layers. All is then saved as a new PSD file. It is important that each step of the process is saved as its own PSD file. This way, if you need to return to the original scan, or the isolated objects, they are available so you don’t have to do all the work again.
Working with full-sized paintings
If you simply need the art as a whole digitized, you can make any needed adjustments to the levels, contrast, or color inside Photoshop. Remember to save a copy of your work as final PSD file before saving it as a high quality JPG. This is because JPG files will remove all of the layers and flatten the file. If you need to make changes, your layers will not be there to adjust.
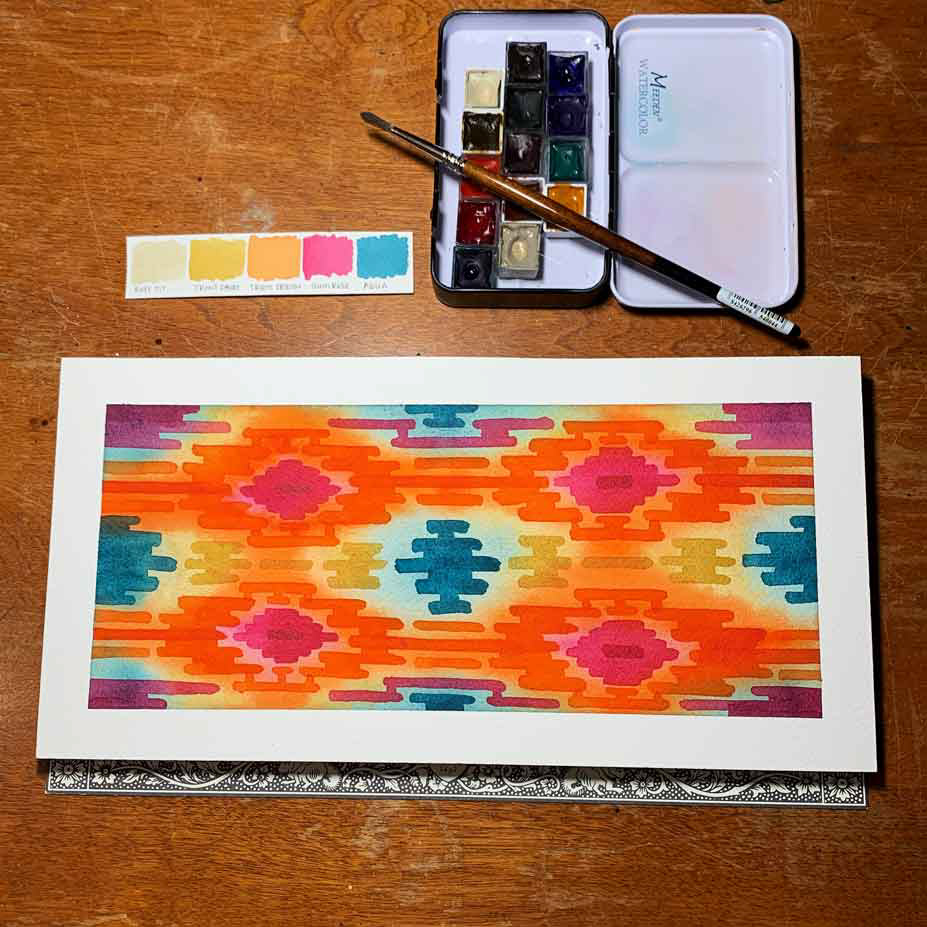
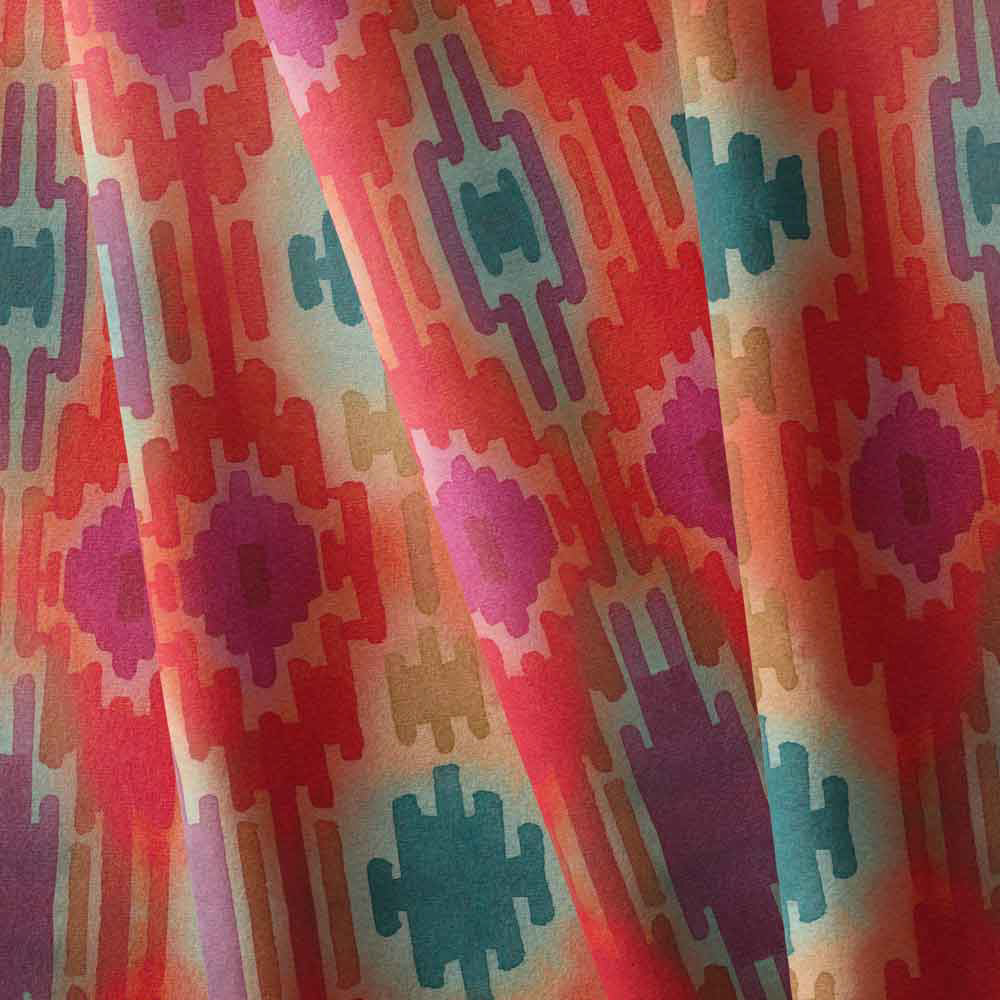
Visit my pattern design gallery to see some of the designs I've created using these techniques.